


Test.ai open sourced an AI classifier for Appium at SeleniumConf last week (setup article). This post will show you how to build the classifier yourself, customize them for your application, and add it to Appium.
Before you begin, you will first need to install TensorFlow on your machine. TensorFlow is the open source AI framework from Google.
pip install --upgrade tensorflow
Classify Elements
Checkout the test.ai repo (https://github.com/testdotai/classifier-builder) on github, which will include all the necessary components (images, classifier, building script), and cd into the sample_run directory.
We will run the classifier on a cart:

Run the script:
python run_model.py --image cart.png
This outputs — Top results: cart — 0.7937941
The 0.7937941 tells you that the AI is 79.38% sure that it is a shopping cart. From our experience, anything above a confidence of 0.3 is usually confident enough.
Build A Classifier
Run the following command from the repo root (cd ..) to start the training:
python retrain.py --image_dir training_images/ --output_graph output/saved_model.pb --output_labels output/saved_model.pbtxt --how_many_training_steps 4000 --learning_rate 0.30 --testing_percentage 25 --validation_percentage 25 --eval_step_interval 50 --train_batch_size 2000 --test_batch_size -1 --validation_batch_size -1 --bottleneck_dir /tmp/bottleneck
NOTE: The initial training will take 2+ hours on a modern MacBook Pro.
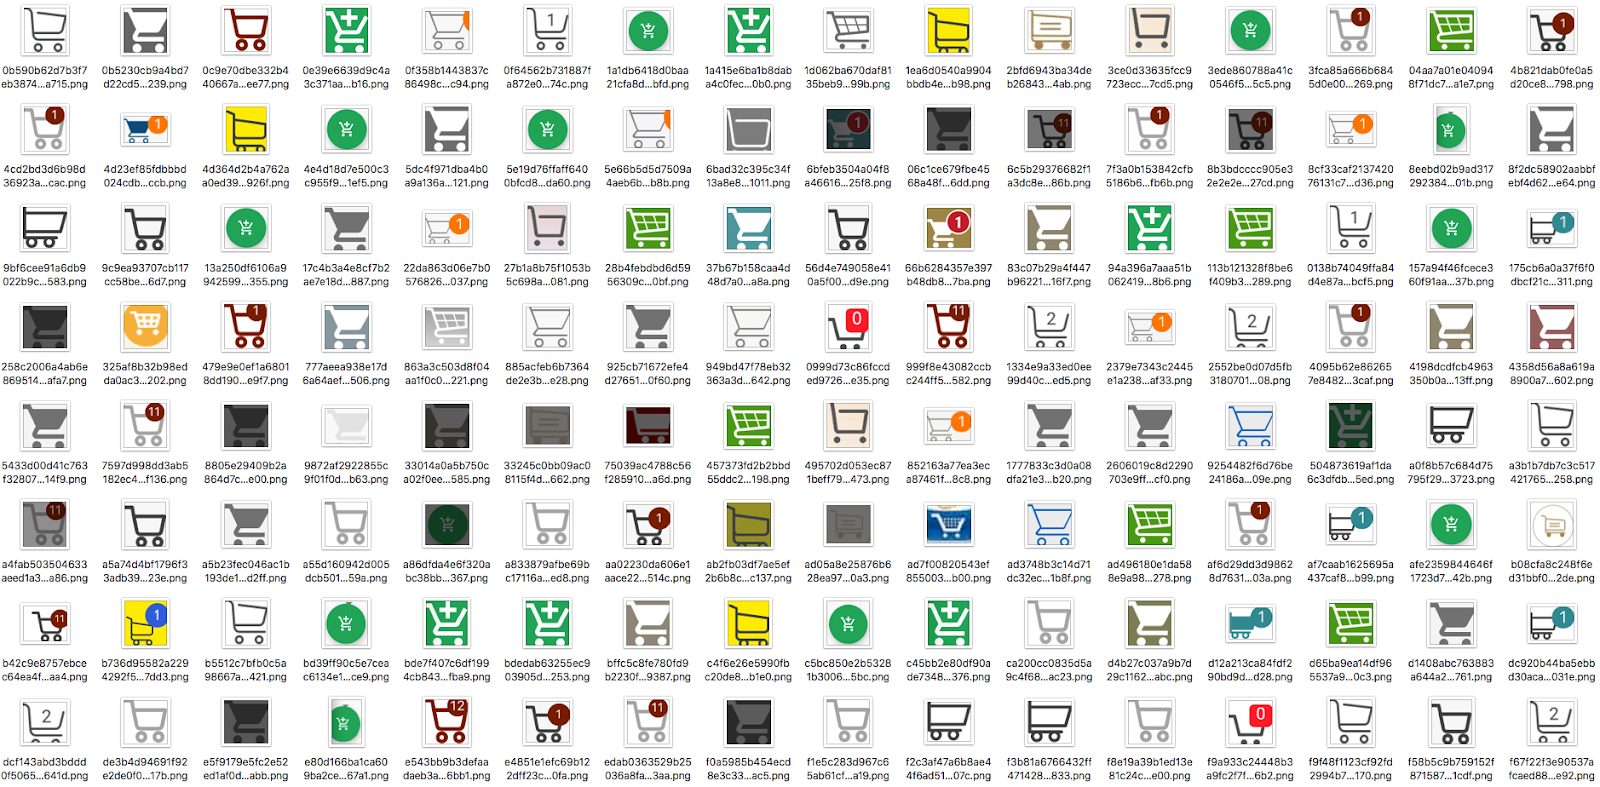
How to Add to the Data Set
If you wish to add a new image that isn’t in the data set, such as a “refund_button”. Create a new folder called “refund_button” under training_images/, and fill it with images of refund buttons, followed by re-running the training.
python retrain.py --image_dir training_images/ --output_graph output/saved_model.pb --output_labels output/saved_model.pbtxt --how_many_training_steps 4000 --learning_rate 0.30 --testing_percentage 25 --validation_percentage 25 --eval_step_interval 50 --train_batch_size 2000 --test_batch_size -1 --validation_batch_size -1 --bottleneck_dir /tmp/bottleneck
Updating Appium to use your Data
Now that you have an updated version of the classifier, it’s time to add it to Appium.
Convert the classifier to tensorflowjs. Install tensorflowjs.
pip install tensorflowjs
Run the conversion:
tensorflowjs_converter --input_format=tf_frozen_model --output_node_names=final_result output/saved_model.pb web_model
This creates a web_model folder. Copy the contents of this folder to the npm dependency install for appium-classifier-plugin under the model folder (/usr/local/lib/node_modules/appium/node_modules/test-ai-classifier/model/).
Help Improve the Data Set
We will regularly update the data set and encourage community involvement to improve it. Feel free to send any pull requests with additional images/classes to add to the data set. For more information on how to do a github pull request, check out: https://help.github.com/articles/creating-a-pull-request-from-a-fork.
Finally, there is a chance that tests won’t break on every random build…
— Chris Navrides, Engineer at test.ai